4. Create a Dispatcher
To implement the functionalities of NoPE, NoPE creates so called runtime environments. Inside of such a environment the system uses a so-called 'NoPE dispatcher' as a central element.
The Dispatcher:
The NoPE dispatcher is designed as a layer between the different modules and other runtimes (these might exist based on the distribution of the system). The dispatcher enables distributed computing and creates simply micro kernel architecture. A dispatcher is used to connect the modules, share data and events and provide a remote procedure call (rpc) interface.
The Dispatcher as black boxes:
According to the SOLID principle, the dispatcher uses the following components. These have the following accountability.
| Element | Description and Responsibility |
|---|---|
connectivityManager | connects to other dispatchers and manages the status of the other dispatchers. It checks their status and removes dead dispatchers (dead = no connection is active). It detects new dispatchers. |
eventDistributor | distributes events over the network (or internally). You can use this element to wait for specific events. Subscription to these events allows mqtt patterns. Additionally, you can emit events on specific topics or pattern-based topics ;-). |
dataDistributor | passes data over the network (or internally). Unlike events, data is persistent and available at any time. You can use this submodule to wait for specific data changes (install data hooks), pull specific data, or push data. You can retrieve / push data with a path based on mqtt patterns. |
rpcManager | Used to perform remote procedure calls (see here). The manager keeps track of available services. The submodule registers or removes (new) services. |
instanceManager | Used to create/remove (remote) instances. The manager keeps track of available instances on the network and allows to create wrappers for these instances. This can be used to simplify access. To allow the system to provide new instances of a certain type, constructors can be provided as a service. |
To interact with NoPE it is usefull to work with a Dispatcher.
To start exploring the capabilities of the dispatcher we will firstly create a dispatcher with the code below:
// First lets import nope.
import * as nope from "nope-js-node";

// Lets create our dispatcher
const dispatcher = nope.dispatcher.getDispatcher({
  // We will use the event layer (which just runs internally)
  communicator: nope.getLayer("event"),

  // We will adapt the timings (normally, we send a hartbeat and check for dead dispatchers)
  timings: {

    /**
     * Interval for the alive message given in [ms]. If "0" is provided,
     * no alive messages are provided
     */
    sendAliveInterval: 500,

    /**
     * Interval, to check the other dispatcher for being slow, dead, etc..
     * should be lager then the "sendAliveInterval". The value is given in [ms]
     * If "0" is provided, no alive messages are provided
     */
    checkInterval: 1000
  }
});
getDispatcher-function:
The getDispatcher- function automatically trys to return the dispatcher as Singleton. This means, that their will be exactly 1 dispatcher in a process. To receive a second dispatcher-instance (which is for performance reasons not recommend) in your process you must set the singleton-flag to false
Settings for creating:
The relevant Settings are described by the INopeDispatcherOptions. This options allows to define:
- the communication bridge. (use
getLayerto receive a bridge with the specified layer)NoPEuses so calledCommunicationLayersto connect the Runtimes among each other.- currently the following layers are implemented:
mqtt: A dedicated Broker is requiredsocket-io:- A server is generated using the layer
io-server. Servers must be executed as standalone process - A client is generated using the layer
io-client.
- A server is generated using the layer
- define a specific
idfor the dispatcher.- this might be usefull during debugging.
- provide a specific log-level (otherwise the dispatcher wont log anything)
- define the timings for
heartbeatsandchecks(seeINopeINopeConnectivityTimeOptionsfor more details) - a
defaultSelectorwhich is used as selector for a service provide.- If several service providers (NoPE-Runtime) are able to execute the service, the provider can be selected via a callback. For this purpose there are predefined
selectorsmaster(seeconnectivityManager) the master must execute the processfirst: any provider executes the serives (the first in the list)dispatcher: a specific dispatcher must run the service (defined by its id)host: a dispatcher on the defined host.cpu-usage: the dispatcher with the least CPU usagefree-ram: The dispatcher with the lowest RAM usage
- If several service providers (NoPE-Runtime) are able to execute the service, the provider can be selected via a callback. For this purpose there are predefined
runNopeBackend-function:
Instead of the getDispatcher we can although use the runNopeBackend
const loader = await nope.runNopeBackend({
  timings: {
    checkInterval: 0,
    sendAliveInterval: 0
  },
  log: "error",
  skipLoadingConfig: true
});

// The loader exposes a dispatcher:
const dispatcher = loader.dispatcher;
Why should I use the runNopeBackend-function?
The runNopeBackend returns a NopePackageLoader. The package loader is used to manage available packages (exports available to other runtimes). Therefore, the NoPE package loader is able to import so-called NoPE packages. (In the backend, it can read in javascript files with the package definitions at runtime; in the frontend, the packages must be loaded directly and are made available to the manager via a method).
The NoPE package loader can be interacted with via the following methods and properties:
reset: Resets the PackageLoader. I.e. all known packages are removed. Instance or similar are not deleted.addDescription: With this method classes can be explicitly added at runtime. This may be necessary if a class was created dynamically.addPackage: Functionality to add a complete package. This will cause the included services to be hosted and constructors for the shared classes to be provided.generateInstances: Creates the defined instances of the packages. In doing so, this information is overridden by the configuration file.
The following function is also available in the backend:
loadPackageFile: Enables dynamic loading of a configuration file.
NoPE package
A NoPE package contains for this purpose:
- The identifier of the package (name)
- A list of packages on which the package depends.
- A list of provided classes of the package. (see
IClassDescription) - A list with the provided services of the package.
- A definition of the default instances to be created. This will be overridden by the configuration file.
- A definition of auto-start functions of instances. This will be overridden by the configuration file.
Wait for the Dispatcher
Because the entire Library is written async, we must wait until the sytem is ready:
// To wait until the Sytem is ready, we
// can  use the ready Oberservable of the
// dispatcher.
await dispatcher.ready.waitFor()
if we are not running the code above in an async method we will use the .then option:
// To wait until the Sytem is ready, we
// can  use the ready Oberservable of the
// dispatcher.
dispatcher.ready.waitFor().then(_ => {
  // Do your stuff.
}).catch(e => {
  // Handle the error
});
You are now running a distributed System inside your programm
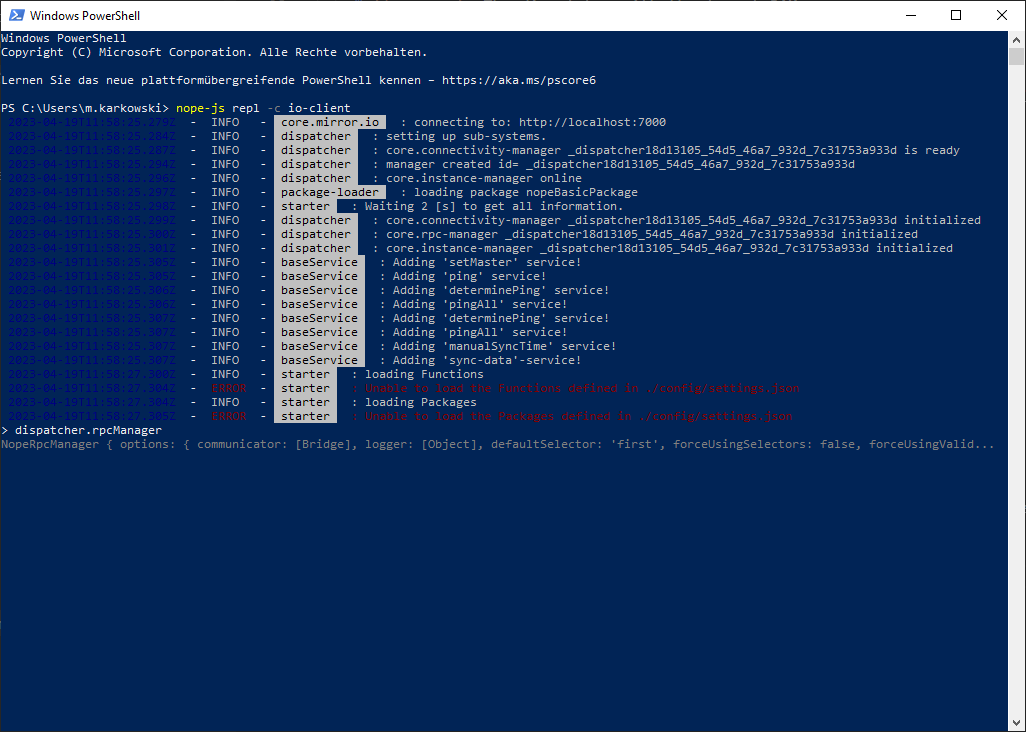
Playing with a dispatcher in a console
To play with a dispatcher, you can use the nope-js repl tool. this tool creates a dispatcher and you are able to interact with the dispatcher in an interactive console.